Newest ⟷ Oldest
-
Snapshot at 2017-05-11
Chapter 1 – Getting started
Getting started.
Table of Content for Chapter 1:
- Setting up the development environment
- Testing environment
- Where to reference documentation?
Setting up the development environment
How can we get started?
We need to install some softwares. We need web browsers to run the web. We’ll need Google Chrome, Mozilla Firefox and Apple Safari to test our web pages.
Just the browsers? How about the editor?
Any plain text code editor would work. IDE such as Dreamweaver may be used but they are not required. For me, I would use Sublime Text because of the multiple-cursors feature.
Testing environment
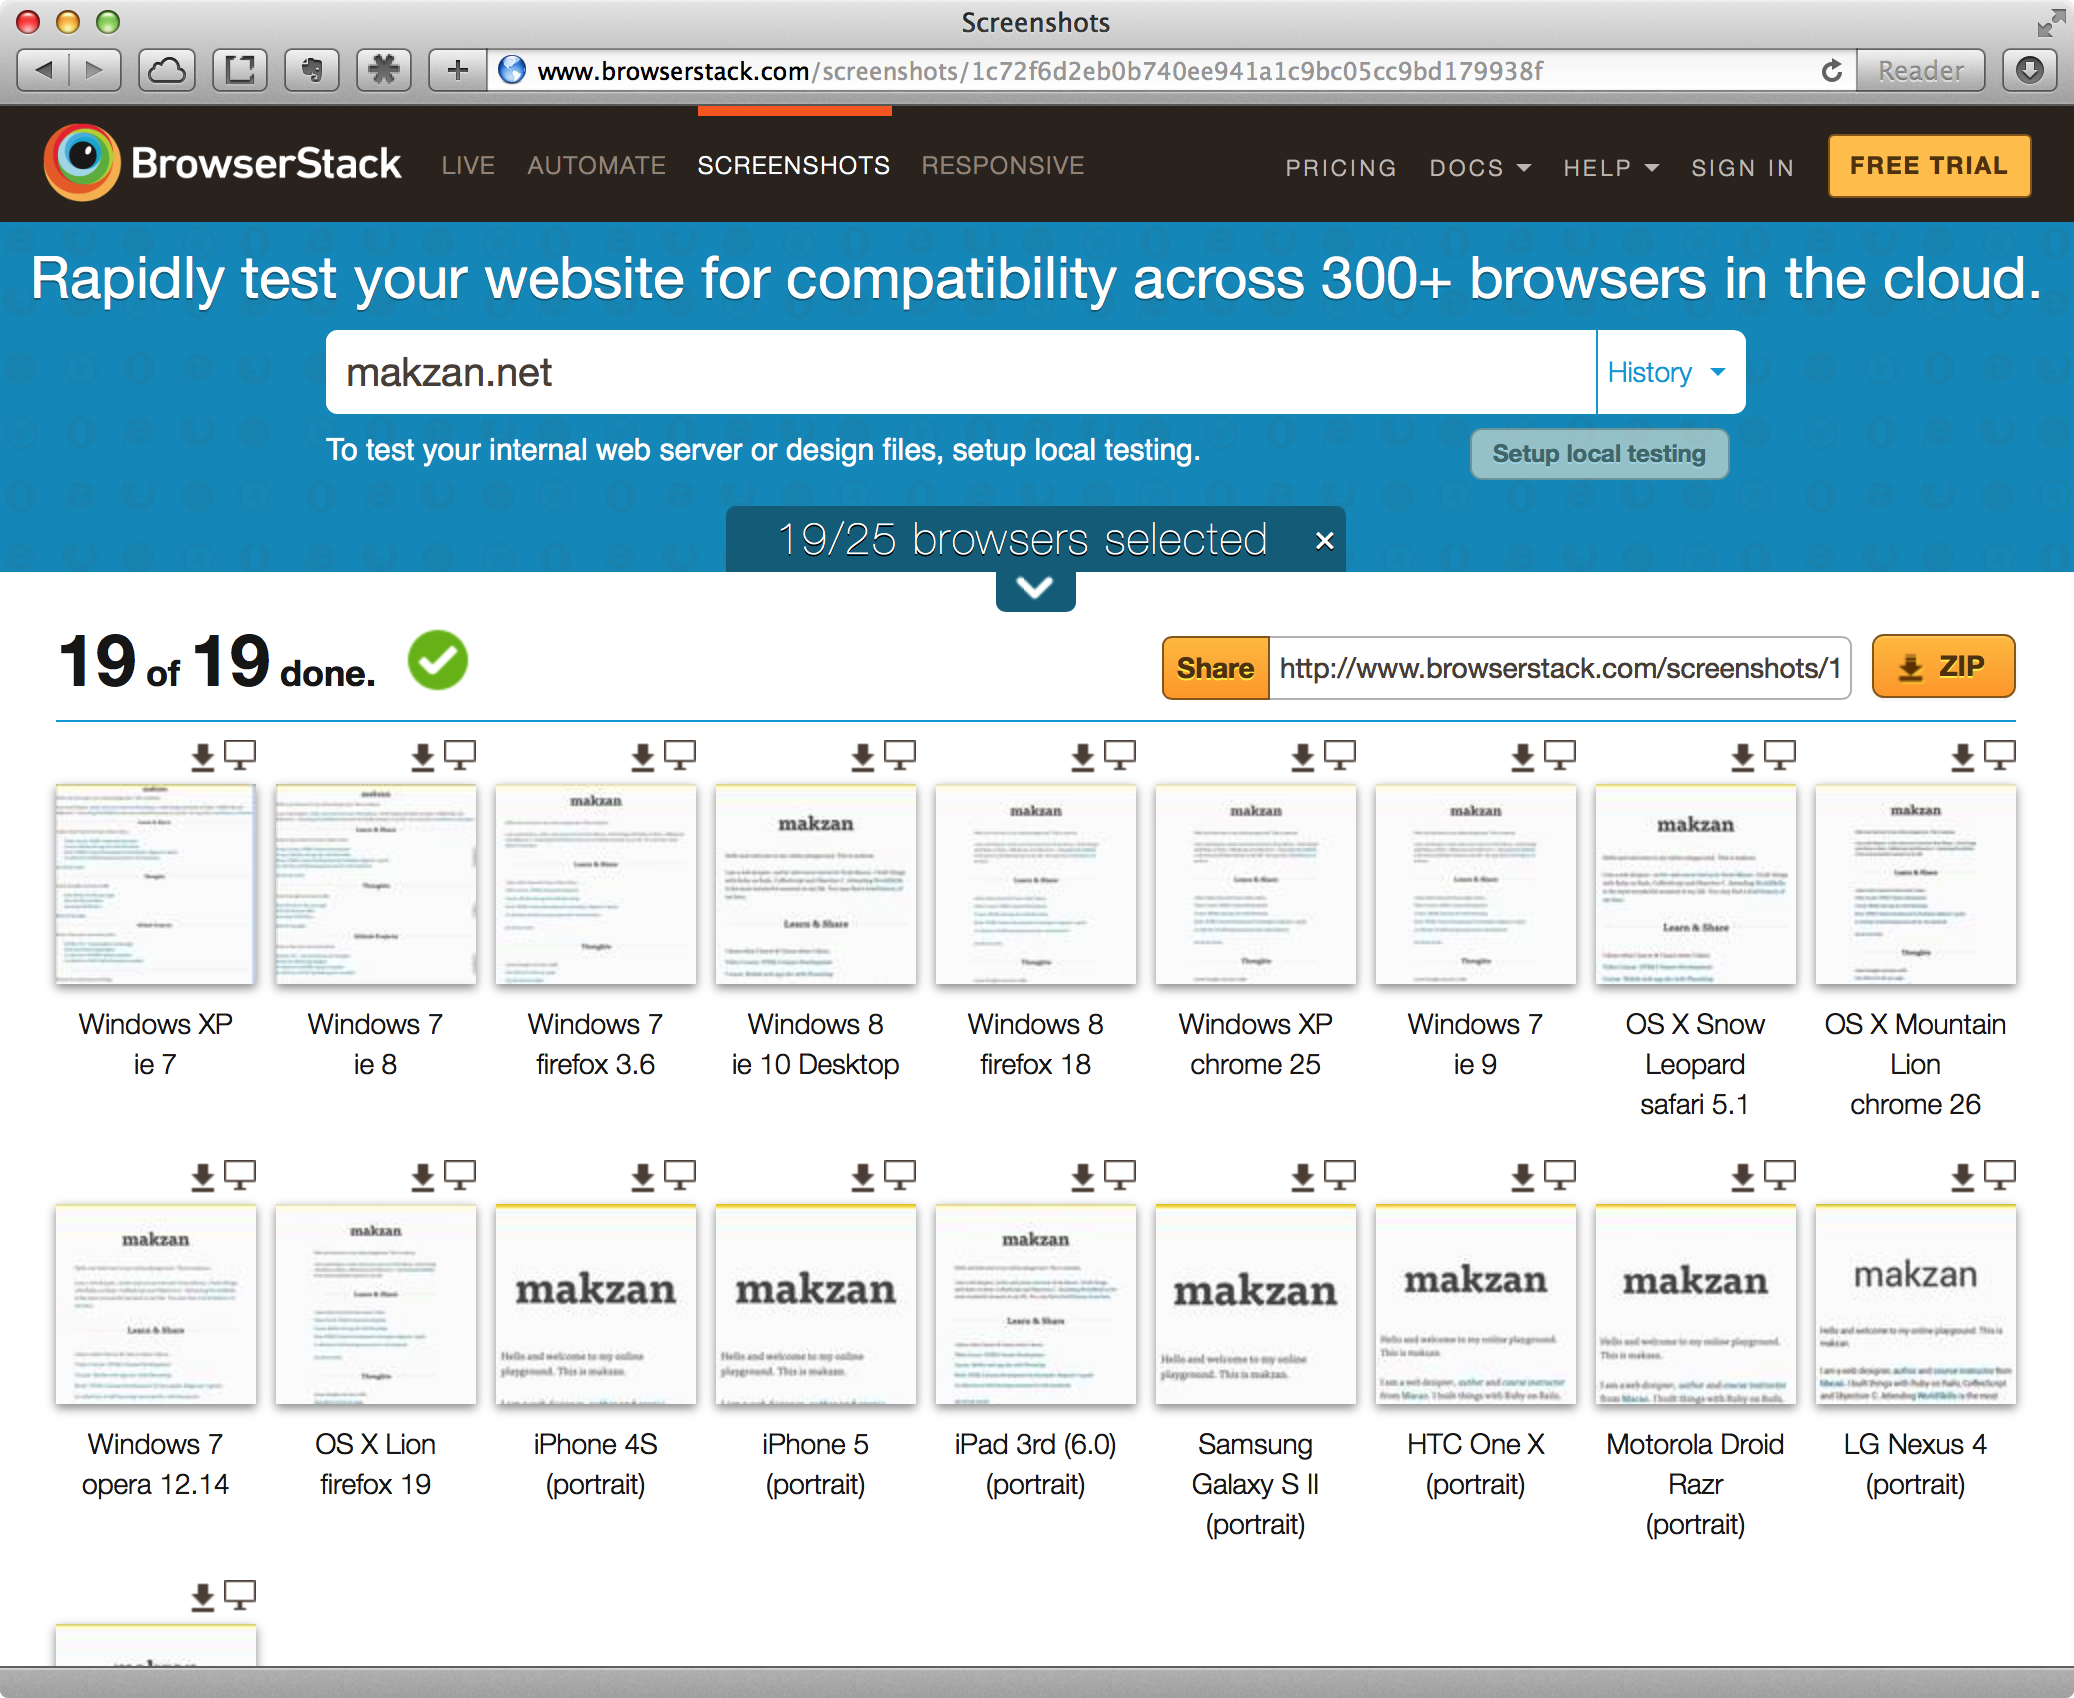
Some services, such as Borwser Stack, provide easy webpage testing across multiple browsers. For example, we can test how our web look on different sizes of devices.

Testing in simulator
We will also need to install emulator for both iOS and android system.
The iOS simulator can be installed via the XCode, the apple development toolkit. The android emulator, on the other hand, can be installed via the android SDK. Alternatively, 3rd party emulator may be used, such as genymotion.
Testing in real devices
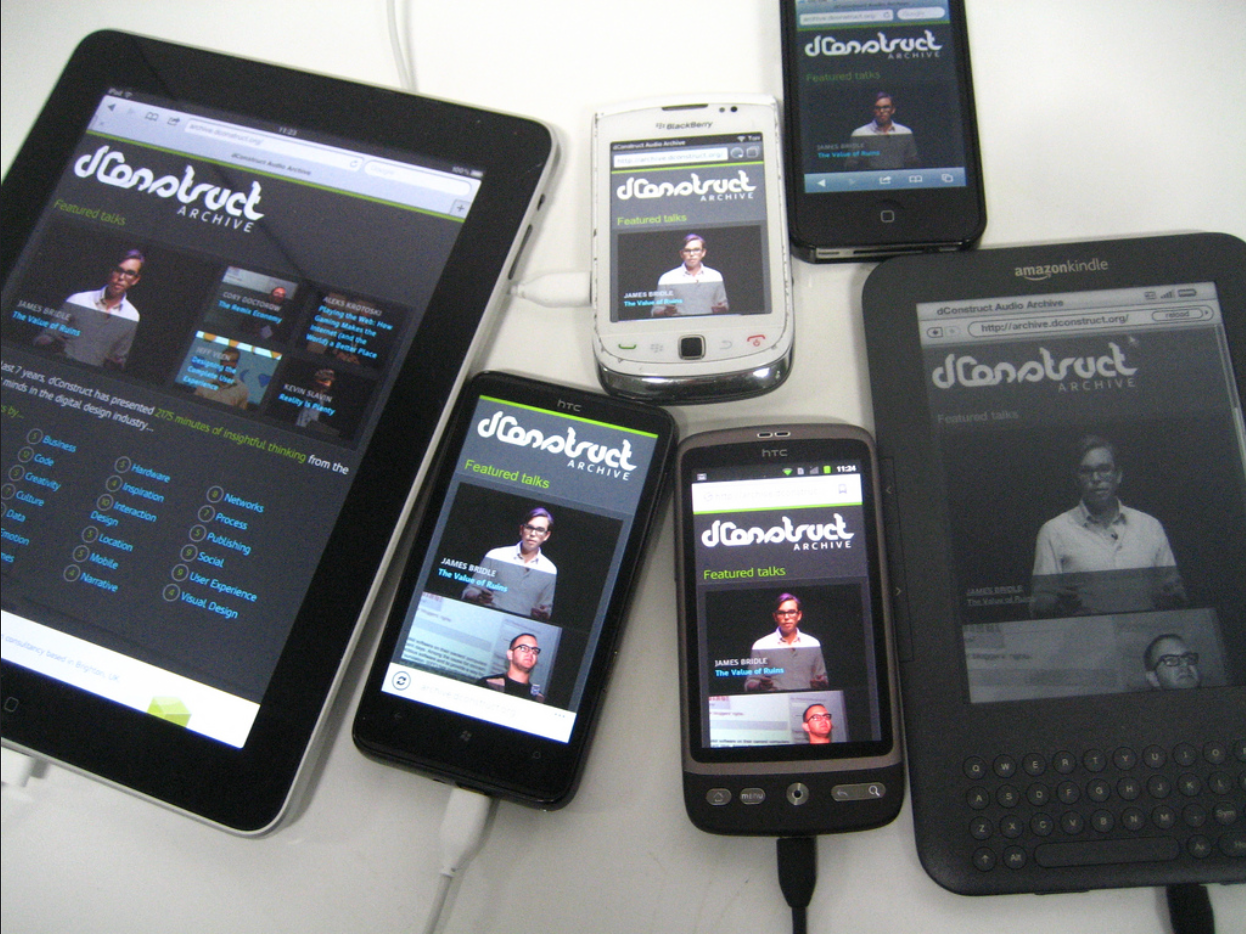
Beside simulating our web in the mobile simulator, we need to have real devices to further test it.
Not only because simulator cannot simulate all the things, but also because holding the web on hand is important. We need the feeling of scrolling the screen, tapping on links and buttons, and inputting the form value with the virtual keyboard.
 Photo taken by Jeremy Keith.
Where to reference documentation?
Googling the topic on the Internet may be fast to get some understands on specific topic. But if you are seeking documentation, here are some suggestions to high quality documentation.
- Mozilla developer network (Add “mdn” as keyword when searching on web)
- W3C
Some desktop applications may provide quick access to these documentations. For example, in my Mac, I use Dash to have quick access to the spec without opening the browser.
-
Snapshot at 2017-04-12
Chapter 1 – Getting started
Getting started.
Table of Content for Chapter 1: 1. Setting up the development environment 2. Testing environment 3. Where to reference documentation?
Setting up the development environment
How can we get started?
We need to install some softwares. We need web browsers to run the web. We’ll need Google Chrome, Mozilla Firefox and Apple Safari to test our web pages.
Just the browsers? How about the editor?
Any plain text code editor would work. IDE such as Dreamweaver may be used but they are not required. For me, I would use Sublime Text because of the multiple-cursors feature.
Testing environment
Some services, such as Borwser Stack, provide easy webpage testing across multiple browsers. For example, we can test how our web look on different sizes of devices.

Testing in simulator
We will also need to install emulator for both iOS and android system.
The iOS simulator can be installed via the XCode, the apple development toolkit. The android emulator, on the other hand, can be installed via the android SDK. Alternatively, 3rd party emulator may be used, such as genymotion.
Testing in real devices
Beside simulating our web in the mobile simulator, we need to have real devices to further test it.
Not only because simulator cannot simulate all the things, but also because holding the web on hand is important. We need the feeling of scrolling the screen, tapping on links and buttons, and inputting the form value with the virtual keyboard.
 Photo taken by Jeremy Keith.
Where to reference documentation?
Googling the topic on the Internet may be fast to get some understands on specific topic. But if you are seeking documentation, here are some suggestions to high quality documentation.
- Mozilla developer network (Add “mdn” as keyword when searching on web)
- W3C
Some desktop applications may provide quick access to these documentations. For example, in my Mac, I use Dash to have quick access to the spec without opening the browser.
-
Snapshot at 2017-04-11
📖 Chapter 1 – Getting started
Getting started.
Table of Content for Chapter 1: 1. Setting up the development environment 2. Testing environment 3. Where to reference documentation?
Setting up the development environment
How can we get started?
We need to install some softwares. We need web browsers to run the web. We’ll need Google Chrome, Mozilla Firefox and Apple Safari to test our web pages.
Just the browsers? How about the editor?
Any plain text code editor would work. IDE such as Dreamweaver may be used but they are not required. For me, I would use Sublime Text because of the multiple-cursors feature.
Testing environment
Some services, such as Borwser Stack, provide easy webpage testing across multiple browsers. For example, we can test how our web look on different sizes of devices.

Testing in simulator
We will also need to install emulator for both iOS and android system.
The iOS simulator can be installed via the XCode, the apple development toolkit. The android emulator, on the other hand, can be installed via the android SDK. Alternatively, 3rd party emulator may be used, such as genymotion.
Testing in real devices
Beside simulating our web in the mobile simulator, we need to have real devices to further test it.
Not only because simulator cannot simulate all the things, but also because holding the web on hand is important. We need the feeling of scrolling the screen, tapping on links and buttons, and inputting the form value with the virtual keyboard.
 Photo taken by Jeremy Keith.
Where to reference documentation?
Googling the topic on the Internet may be fast to get some understands on specific topic. But if you are seeking documentation, here are some suggestions to high quality documentation.
- Mozilla developer network (Add “mdn” as keyword when searching on web)
- W3C
Some desktop applications may provide quick access to these documentations. For example, in my Mac, I use Dash to have quick access to the spec without opening the browser.
-
Snapshot at 2017-04-05
Chapter 1 – Getting started
Getting started.
Table of Content for Chapter 1: 1. Setting up the development environment 2. Testing environment 3. Where to reference documentation?
Setting up the development environment
How can we get started?
We need to install some softwares. We need web browsers to run the web. We’ll need Google Chrome, Mozilla Firefox and Apple Safari to test our web pages.
Just the browsers? How about the editor?
Any plain text code editor would work. IDE such as Dreamweaver may be used but they are not required. For me, I would use Sublime Text because of the multiple-cursors feature.
Testing environment
Some services, such as Borwser Stack, provide easy webpage testing across multiple browsers. For example, we can test how our web look on different sizes of devices.

Testing in simulator
We will also need to install emulator for both iOS and android system.
The iOS simulator can be installed via the XCode, the apple development toolkit. The android emulator, on the other hand, can be installed via the android SDK. Alternatively, 3rd party emulator may be used, such as genymotion.
Testing in real devices
Beside simulating our web in the mobile simulator, we need to have real devices to further test it.
Not only because simulator cannot simulate all the things, but also because holding the web on hand is important. We need the feeling of scrolling the screen, tapping on links and buttons, and inputting the form value with the virtual keyboard.
 Photo taken by Jeremy Keith.
Where to reference documentation?
Googling the topic on the Internet may be fast to get some understands on specific topic. But if you are seeking documentation, here are some suggestions to high quality documentation.
- Mozilla developer network (Add “mdn” as keyword when searching on web)
- W3C
Some desktop applications may provide quick access to these documentations. For example, in my Mac, I use Dash to have quick access to the spec without opening the browser.
-
Snapshot at 2017-04-05
Chapter 1 – Getting started
- Setting up the development environment
- Testing environment
- Where to reference documentation?
Setting up the development environment
How can we get started?
We need to install some softwares. We need web browsers to run the web. We’ll need Google Chrome, Mozilla Firefox and Apple Safari to test our web pages.
Just the browsers? How about the editor?
Any plain text code editor would work. IDE such as Dreamweaver may be used but they are not required. For me, I would use Sublime Text because of the multiple-cursors feature.
Testing environment
Some services, such as Borwser Stack, provide easy webpage testing across multiple browsers. For example, we can test how our web look on different sizes of devices.

Testing in simulator
We will also need to install emulator for both iOS and android system.
The iOS simulator can be installed via the XCode, the apple development toolkit. The android emulator, on the other hand, can be installed via the android SDK. Alternatively, 3rd party emulator may be used, such as genymotion.
Testing in real devices
Beside simulating our web in the mobile simulator, we need to have real devices to further test it.
Not only because simulator cannot simulate all the things, but also because holding the web on hand is important. We need the feeling of scrolling the screen, tapping on links and buttons, and inputting the form value with the virtual keyboard.
 Photo taken by Jeremy Keith.
 -
Snapshot at 2017-04-05
Chapter 1 – Getting started
- Setting up the development environment
- Testing environment
- Where to reference documentation?